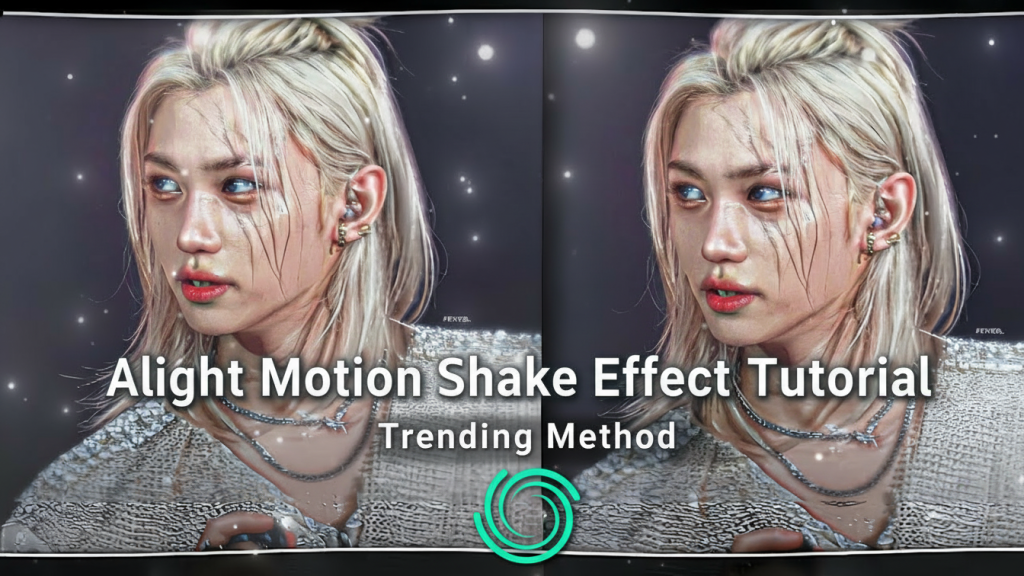
Alight Motion Shake Effect Tutorial: Trending 2026 Method
The editing world in 2026 is all about energy, impact, and rhythm, and no effect delivers that punch better than the alight motion shake effect. Whether you’re creating AMVs, action-packed reels, velocity edits, or short dramatic transitions, the shake effect instantly adds intensity and makes your clips feel alive. It’s one of the most used effects on TikTok, Instagram Reels, and YouTube Shorts because it emphasizes beats, highlights motion, and keeps viewers locked into your edit. From soft aesthetic shakes to hard-hitting impact shakes, creators are using this effect to add personality and cinematic flair to their videos.
The best part? You can customize every detail, timing, direction, blur, rotation, and scale to make your shake feel smooth, aggressive, or rhythmic depending on your style. This guide breaks down everything you need to master the trending 2026 method, whether you want clean velocity shakes, intense impact shakes, or preset-based quick edits. By the end, you’ll know how to create shake effects that look professional, polished, and perfectly synced to your audio.
What Is the Alight Motion Shake Effect Tutorial?
The alight motion Shake Effect Tutorial is a dynamic movement technique used to add intensity, impact, and rhythm to your clips. Instead of keeping the camera static, the shake creates small, rapid movements, up, down, sideways, or rotational, that mimic real camera motion. This instantly makes your edit feel more dramatic, energetic, or emotionally charged, depending on how you use it. Editors rely on shake effects in AMVs, action scenes, transitions, and beat drops because the motion amplifies whatever is happening in the clip.
A soft shake adds subtle emotion, while a strong shake creates a punchy, high-impact moment. By adjusting elements like position, scale, rotation, motion blur, and easing curves, you can design shakes that look natural and professional rather than chaotic or messy. In simple terms: shake effects make your edits FEEL alive. They give clips texture, movement, and personality, and that’s why they’ve become one of the most essential effects in modern mobile editing.
Types of Shake Styles You Can Create
There isn’t just one way to use the Alight Motion Shake Effect Tutorial; editors create different styles depending on the mood, pacing, and type of clip they’re working with. Each shake type has its own look and purpose, and mastering these variations helps you build more professional, dynamic edits.
Soft Aesthetic Shake
A gentle, subtle motion used in aesthetic reels, emotional AMVs, or calm scenes. It adds movement without overwhelming the visuals.
Impact Shake
A harder, sharper shake triggered during beat drops, punches, explosions, or dramatic transitions. It’s perfect for creating intensity.
Velocity Shake
Common in velocity edits, this shake reacts to speed changes, fast at impact moments, smooth between transitions.
Rhythmic Shake
A shake synced with the beat of the audio. It’s popular in lyric videos and AM-style edits, where text and visuals move in rhythm.
Directional Shake
A shake that moves in a specific direction, horizontal, vertical, or rotational, is often used to match motion in the clip.
Elements That Make a Perfect Shake Effect Tutorial
A clean and professional Shake Effect Tutorial comes from understanding the components that shape it. Even the strongest shake can look messy if the movement isn’t controlled or the timing feels off. Every great camera shake is built from a combination of the following elements:
Position Keyframes
Small, precise movements in different directions (up, down, left, right) create the core shake motion. Keeping movements tight helps avoid distortion.
Scale Pops
Tiny scale increases, like 101–103%, add punch and make the shake feel more impactful without blurring your footage too much.
Rotation Flicks
Subtle rotation angles (0.3–1.5 degrees) give your shake a more dynamic, natural feel rather than just shifting the clip around.
Motion Blur
This softens the sharp edges during movement, making shakes look smooth instead of choppy.
Easing Curves
Proper easing controls the speed of each shake. Linear movement feels robotic, while eased curves feel fluid and intentional.
Timing Sync
The shake must align with the beat or action moment; otherwise, it feels disconnected from the edit.
Combining these elements correctly results in a shake that enhances your video instead of overpowering it.
Step-by-Step Tutorial: How to Create the Shake Effect Manually
Creating the alight motion shake effect manually gives you full control over intensity, direction, and timing. This is the method most pro editors use because it allows you to shape the Shake Effect Tutorial exactly how the scene demands. Follow these clean, beginner-friendly steps:
Step 1: Add Your Clip to the Timeline
Import the clip you want to shake and position it where the effect will happen, usually on a beat drop or impactful moment.
Step 2: Create Position Keyframes
Go to “Move & Transform” → “Position.”
Add a keyframe at the start, then move a few frames ahead and slightly shift the clip up, down, left, or right.
Repeat in different directions to build the shake.
Step 3: Add Scale Pops for Punch
Increase scale to around 101–103% on alternating keyframes.
This prevents black edges and makes every shake feel stronger.
Step 4: Add Rotation Flicks
Use tiny rotation values (0.3–1.2 degrees).
Alternate positive and negative angles for a natural motion feel.
Step 5: Apply Motion Blur
Turn on Motion Blur in the layer settings.
This smooths out harsh movements and gives a cinematic shake look.
Step 6: Add Easing for Flow
Select all your shake keyframes → Apply “Ease In/Out.”
This softens the movement and removes the stiff robotic look.
Step 7: Sync With the Beat
Extend or compress your keyframes so each shake lands perfectly on the audio beats.
This method gives you a clean, professional Shake Effect Tutorial that feels crafted, not random.
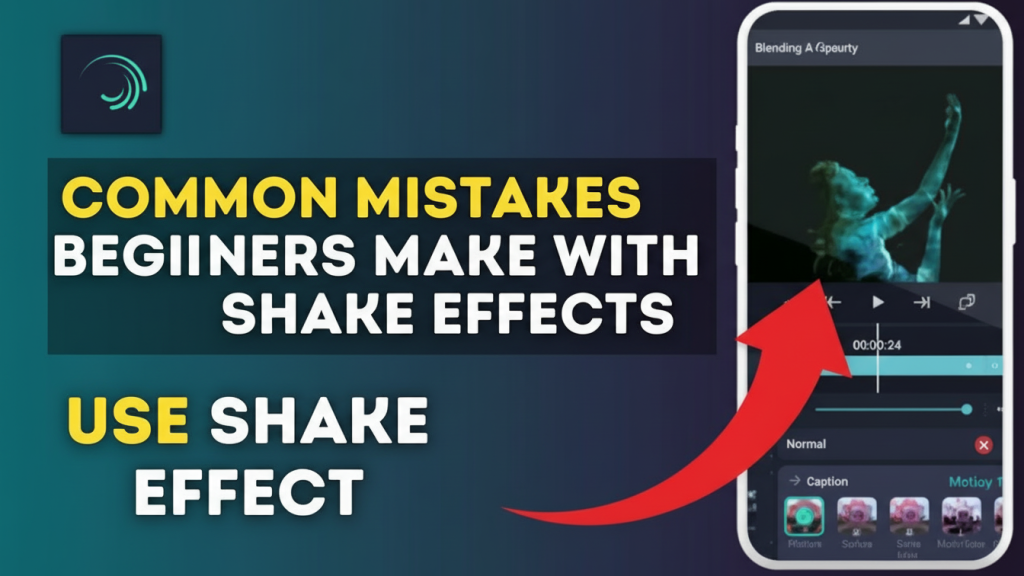
Common Mistakes Beginners Make With Shake Effects
Beginners often try to replicate trending shake styles but overlook the fundamentals, which leads to messy and unbalanced edits. Understanding these mistakes helps you create cleaner, more professional results every time you use the Alight Motion shake effect.
Over-Shaking the Clip
Too many movements or extreme position shifts make the edit look unstable and distracting. Shake should enhance the clip, not overwhelm it.
No Easing Curves
Linear movement creates robotic shakes that feel unnatural. Without easing, the motion becomes stiff and loses flow.
Incorrect Timing With Audio
If the shake doesn’t land exactly on the beat or impact moment, the entire effect feels off. Timing is more important than intensity.
Ignoring Directional Logic
Shaking in random directions breaks visual flow. Match the shake direction with the action or movement happening in the clip.
Too Much Rotation or Scale
Over-rotating or scaling too high causes distortion, blur, and loss of clarity, especially in close-up scenes.
Motion Blur Misuse
Too much blur makes the footage look smudgy; too little makes the shake look choppy. Balance is key.
Avoiding these mistakes instantly levels up your shake effects and makes them look intentional, clean, and professionally executed.
Conclusion
The alight motion Shake Effect Tutorial remains one of the most powerful tools for adding impact, energy, and emotion to your edits. Whether you’re creating AMVs, action reels, transitions, or rhythmic beat-sync videos, mastering shakes instantly makes your work feel more professional and dynamic. From manual keyframing to preset-based editing, you now understand how to choose the right technique for every project. By learning the differences between soft, impact, velocity, and rhythmic shakes, and knowing how to avoid common beginner mistakes, you’re already ahead of most editors.
When you combine precise timing, smooth easing curves, subtle blur, and controlled movement, your shake effects become clean, stylish, and visually addictive. Keep experimenting with new methods, adjusting intensity to match the beat, and mixing directional motions for unique results. The more you practice, Shake Effect Tutorial the more your edits will stand out in 2026’s fast-moving editing world.